Wednesday, December 9, 2015

Sterling, 14k, Topaz and Moostone Masonic Jewel - Ellensburg #39

This is a jewel made for a Past Master of Ellensburg #39 Masonic Lodge
 There was a time when it was common for the presiding officer for a fraternal organization to be presented with a 'jewel' or badge of office after the completion of his term.  I have a collection of these.  This is one I made for a friend and a member of my lodge, Ellensburg #39.

This custom has fallen away or has been replaced by purchasing a pin, likely stamped out of pot metal in china.  I think this is sort of a bummer.


This one was constructed from a vintage sterling spoon which bore the F&AM marks an gold from old and broken masonic lapel pins.  Sort of giving these old objects a new fraternal life.


Construction Pictures:
Damaged Spoon, moonstones and scrap gold.

Careful Plan.  Really just sharpie on the gold.  I had to drill out each opening, and then slide the saw blade through and re-attach it to the saw frame.  The funny little piece at the top left will become the bezel for the moonstone.

ELLENSBURG is now cut out.  Whew that was some careful sawing.  Choosing a good section of the now flattened Spoon for the body of the jewel. 

Trying to keep everything straight, and yet not symetrical....


Solder in the bezel for the topaz and finding the center for the moonstone bezel.

mock-up again

Posts for the catch.

Notches filed to get a good amount of contact with the compasses.

Always stop to mock-up.

Which stone?

Time to attache the gold.

This is trickier than it would seem.  I melt tiny spots of 14k solder on the backs of the little pieces, without melting the little pieces I so painstakingly cut out.  Then place them on the sterling surface.  Heat the sterling carefully and it transfers the heat to the solder and the gold.  This process is commonly called 'sweat soldering'.  I was sweating it a bit too.

Time to set the stones and start to sand and polish.

Finished.

Shined up and ready to go.

This was the second of these I have made and they were both fun projects.  Fun in construction and fun to be able to share my efforts with my lodge and my friends.

Monday, November 10, 2014

Ellensburg 39 jewel - sterling and gold

This was my first attempt at a Masonic Jewel.  It is a Past Masters Jewel for Ellensburg #39, to be given to Ron Graham the Master in 2014.


Shiny objects are hard to photograph.


Work in progress..... Construction pictures are below.


This was my basic plan, I sketched it out in GIMP 2.0.  The blue rectangle is to be a ribbon.

This is a thin piece of 14k gold.  I sketched out the text I wanted to cut out with my Jeweler's hand saw.


Disk for the main body of the medal, and arch for the sextant.  You can see the beginnings of cutting out Ellensburg.


The wire will dress up the arch.  To get a good bend I filed out a notch or "V" to bend, in the yellow circle.


Another piece of wire to rest on the disk and a mock-up.  The bends are in the bottom wire and are soldered.

Figuring out the gauge of wire for the compasses.

Mock-up

Ellensburg now cut out.  Interesting shape left over.

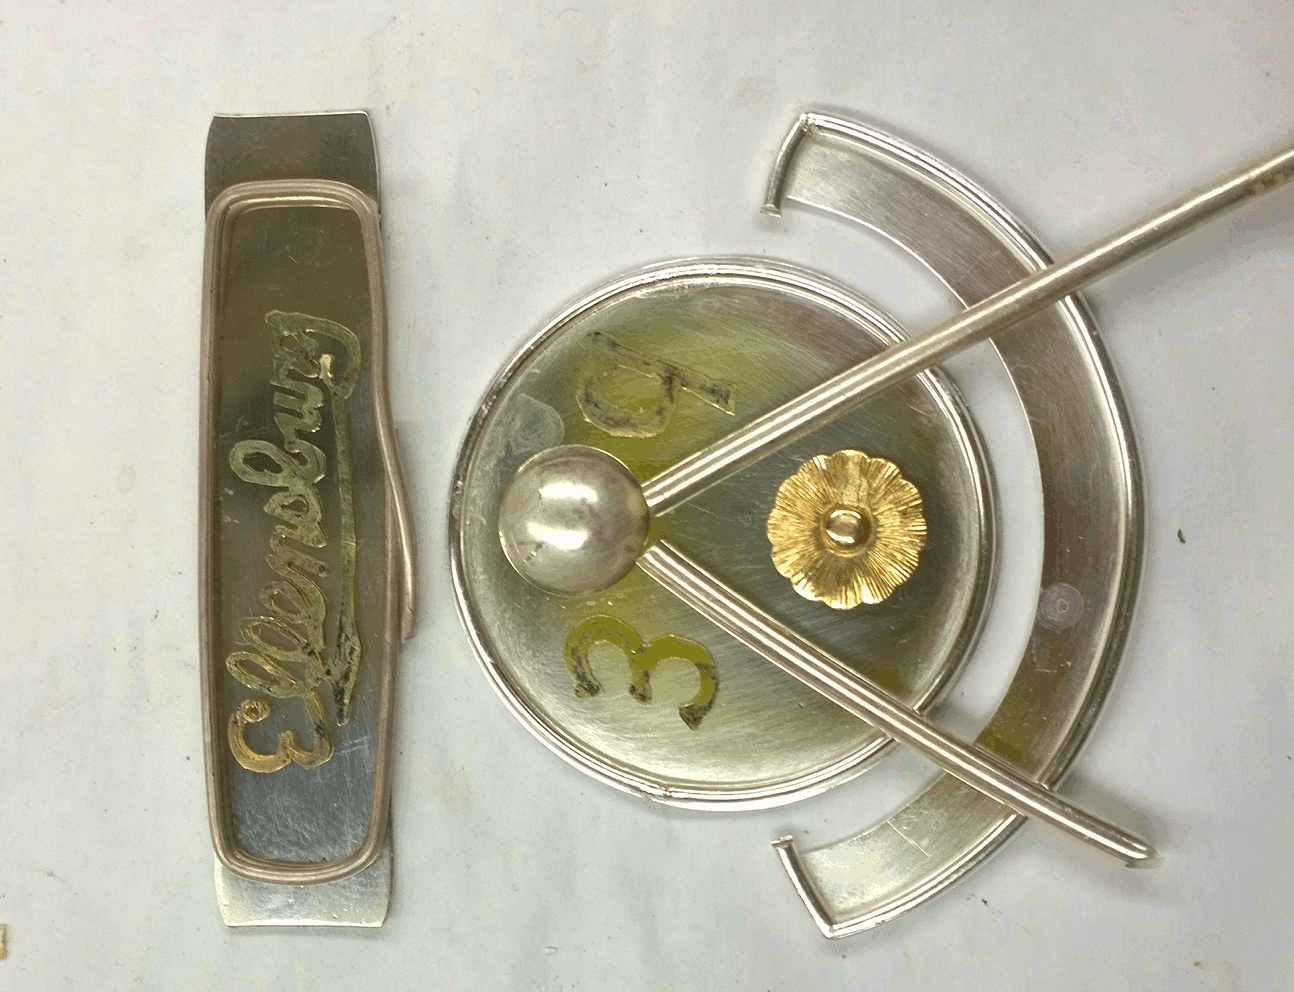
I re-drew the 3 and 9 as the original ones seemed too small.


Ellensburg cut out mock-up to see if the title bar is big enough.  It wasn't so I rolled it in the mill to stretch, ah north to south, I guess.
This disk was taken to a laser engraver.  It didn't work!  Arrgghhhh.

A wire is needed for the title bar to match the rest.


I must have been doing something here, I took a picture...

Compasses to the dome.

Mock-up to see if the pieces work together.  2-d and 3-d are hard to transition between.

Checking to see how close to the plan I am and if everything is still straight.,  The pieces to the right are a ribbon bar and the pin.  I chucked the sterling in the flex shaft and spun it on a file to make the pin.

This will be the hook for the main medal to hang from.  Big pieces are easier to work with as small ones heat more quickly.

While waiting for the tumbler for an hour, I took the scraps to make a ring.

Tumbling the pieces.  This process work hardens the metal to make it stiff and strong.  It also cleans and slightly burnishes it.

Like the blue, but there is no way to keep it that color.

Soldering on the ring at the top.

This is the back.  I have an appt., to get it engraved.  The pin is at the top and the bar below it is so that a ribbon can be attached, like black for a funeral etc...  I should probably tell Ron that.


We use all parts of the metals here....


In the box and ready to go!